Tips for Restful Sleep

Tossing and turning at night is the WORST! Especially when you know you have to be up for work early the next morning. Generally you just check the clock every hour and count down the hours til you have to be up (or is that just me). Over the past few months, I’ve started to pay attention to what helps me sleep better. I though I would share those things with you:

1) No TV or playing on the iPhone 1 hour before bed
– Instead listen to some music or read a book (a book does the trick for me)

2) Warm Bath or Shower
– Have you seen this Times article about how warm showers before bed help you sleep better? According to the article “Several studies have shown that warming your body by taking a bath can help induce sleep when there’s enough time to cool off afterward”.

3)Sleep Spray & Diffuse
– According to the National Sleep Foundation “any fragrance that makes you happy can promote sleep”. I use a combination of a sleep pray and my diffuser.

Sleep Spray: 20 drops Lavender, 10 drops Cedarwood and 5 drops Roman Chamomile. I combine them all in a little glass stray bottle and keep this next to my bed. I spray this on my pillow and sheets at night.

For my diffuser I like to add 3-5 drops of Northern Lights Black Spurce or Peace and Calming.

What are some of your tips for getting a better nights sleep?

Healthy on a Budget

I read an article a while back about how to save $30 on your weekly grocery store bill. I don’t know about you, but a $30 saving would be amazing! When I read the article, the tips … well….left much to be desired. It had tips like, skip the meat and use canned beans (really, if I told my husband we were skipping meat and using canned beans, we would just stare at me). Use frozen produce, dry milk- seeing the pattern here? In other words shop in the middle of the grocery store. Where you can’t pronounce half the ingredients listed on the cans and boxes. To the articles defense, it did have some good suggestions- like buy produce from the grocery store instead of big box stores.

We have all heard to shop the perimeters of the grocery store. This is where you will find the healthier options. But lets me honest, sometimes that can be a little damaging on your pocket book. Here are some ways we buy healthy food on a budget.
12745555_986952548054699_9200089924543109235_n
1) Shop Local!
+ Farmers Markets: I love our local market! It’s open every Saturday and has a wide variety of vegetables! Normally, these vegetable are at a much lower price then what you would be at the grocery store. On one of our trips we bought 2 zucchini, 1 squash, 2 bananas, and an orange for $4.50. A word of caution with shopping at farmers markets, a lot of the good stuff goes fast-so get there early!
+ Enroll in Community Supported Agriculture. This is where you get a box of fruits or vegetables (or both) each week. Each farm is different in their prices, box sizes, and produce variety. This is also a great option to go in together and split with friends and family.
Thrive_FB_Banner
2) Thrive Market
“Thrive Market is the first socially conscious online store offering the world’s best-selling natural and organic products at wholesale prices”. They have a great selection of specialty items: gluten free, dairy free, you know it. For most items their prices come in cheaper than the grocery store and a lot of times they come in cheaper than Amazon. Coconut Secrets Coconut Aminos is my favorite soy sauce alternative however only one grocery store in town sells them and its hit or miss as to when it’s in stock! On Amazon the cheapest I could find it was $11.35. On Thrive Market- $4.45! Thrive Market offers a 30 day free trial- which is a great way to see if you will use it enough to get your money’s worth. Just make sure you cancel the trial membership or they will automatically charge you! {Lesson Learned}

3) Freeze some go to meals!
This works really well for soups, meats, and broths! Pinterest will be your best when it comes to freezer meals. Also, summer is a great time to buy veggies in bulk and freeze them for the winter. {I have no clue how to do that, I’m just throwing that out there for all you people who are gifted in blanching and freezing department}

4) Walmart Neighborhood Market!
Barney’s Almond Butter is Barney’s Almond Butter no matter if I get it at Publix or Walmart. But its about $2 cheaper at Walmart! We save on an average $20-$30 on our grocery bill when we shop at Neighborhood Walmart. They sometimes don’t have everything we need, but we can get about 90% of our grocery shopping done there.
Epcot’s Wilderness Explorer!

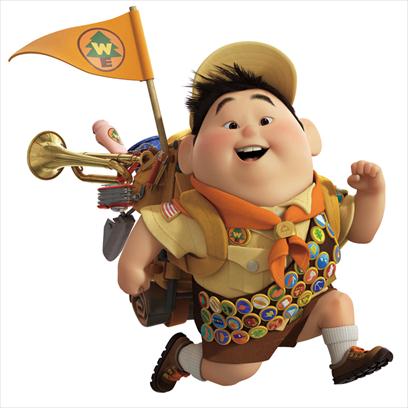
Please tell me you’ve seen the movie UP! If you haven’t, you need to stop reading this now and go watch it. But fast-forward through the first 10 minutes because no one should have to cry during Pixar movies! Anyway, there is this little boy in the movie named Russell, he is on the hunt to get all his badges and become a Senior Wilderness Explorer!

russel

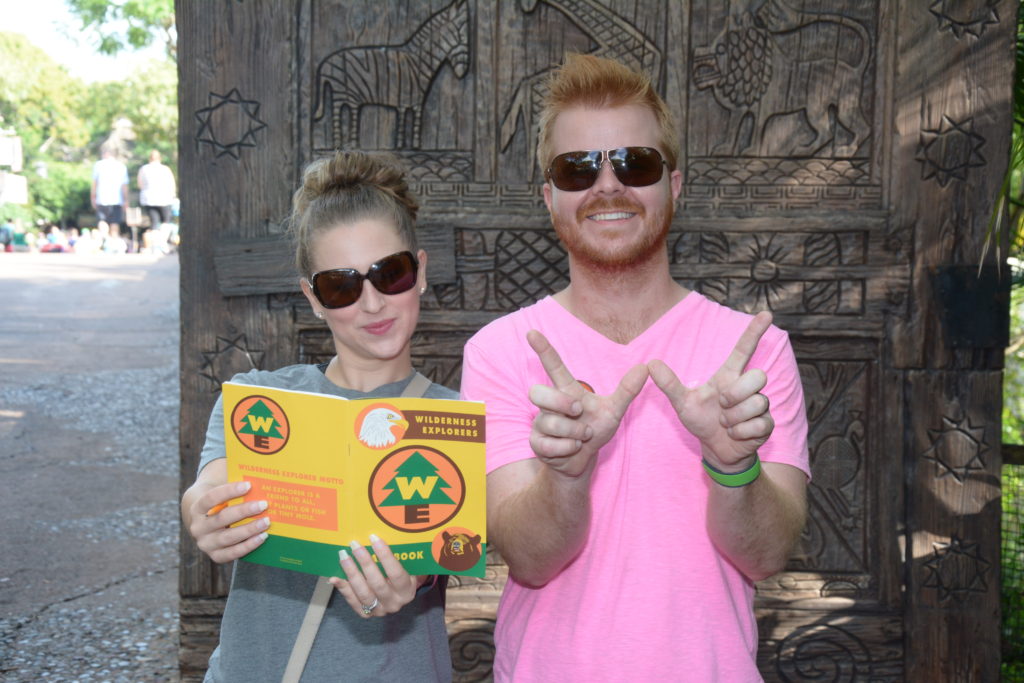
Well, in June when we were at Animal Kingdom, I saw all these stands that said Wilderness Explorer. One of the cast members told us that you could get a book and go all around the park earning your badge, but there were 31 badges you had to earn so it was hard to do it all in one day! So I asked the obvious question that any normal 31 would ask-Is this just for kids. I was told it was for kids of all ages! I knew we would be going back to Disney in early September, so I told Scott that is the one thing I wanted to do! Go to Animal Kingdom and earn ALL the badges in ONE Day!

wdw2016247546630986

And we did! If you are thinking about doing this fun activity at Animal Kingdom I would encourage you to! I don’t feel like we missed out on anything and I paid attention to more things in the park by doing this! There were also some things I wouldn’t have done had it not been for the Wilderness Explorer! Here are some tips/thoughts/suggestions from our time as a Wilderness Explorer:

  • You don’t have to skip the rides or shows! Go ahead and make your Fast Pass for Expedition Everest and the Kilimanjaro Safaris. A few of the badges are earned from these rides. (If someone in your party isn’t tall enough or doesn’t want to ride Expedition Everest you can find the items you need to locate around the outside of the ride). We also made our fast past for the first showing of Festival of the Lion King. The park opened at 9:00am the day we went and the first showing wasn’t until 10, so we had an hour to start on our Wilderness Explorer book!
    wilderness-explorers-gallery01

  • Africa is where you will spend the majority of your time! 13 badges are found in Africa, so we spent about four hours in that section of the park. This included watching The Festival of the Lion King, eating lunch, and going to Rafiki’s Planet Watch to earn those badges.
    wilderness-explorers-gallery00

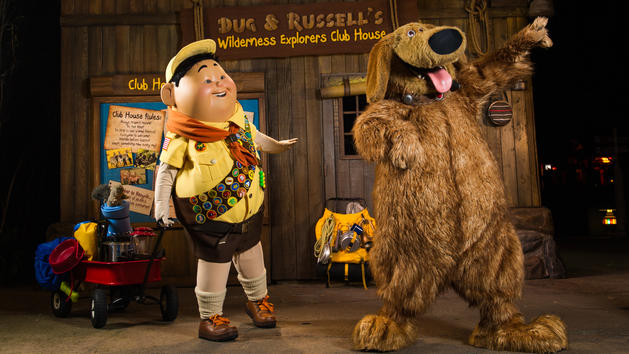
  • Get a picture with Russell and his dog Dug! We were going to go back and do this, but didn’t get a chance. Every time we walked by the line was never long, we were just in a hurry to get somewhere else. But looking back, it would have been cute to get a picture with them while we had our Badge sticker on and had our book.
    character-meet-russell-dug-00

  • To get a few of the badges you have to meet someone from that country! Scott loves to talk to people so this was probably his favorite part! It’s fascinating to learn about other countries and what is important to them. Like the fact that pretty much everyone we met spoke at least one other language. One guy we met knew 5! I don’t even remember Spanish from high school!
  • You do get a prize for receiving all the badges! You get a special sticker that says Senior Wilderness Explorer plus you have a special ceremony on the bridge! {Parents, or husbands, get your camera ready for that one}
  • Make your dinner reservation late enough in the day to find all your badges. We were probably done by around 4:30 or 5:00 and we got to the park when it opened normally (non Magic Hours)
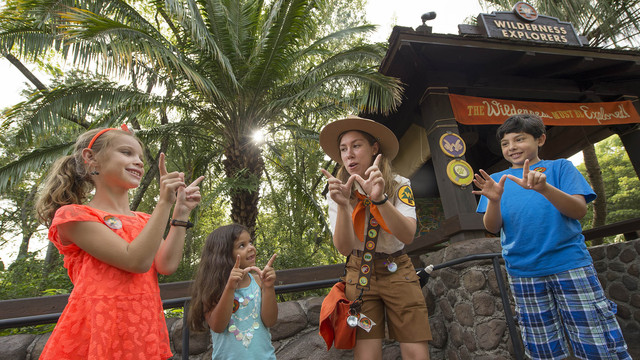
  • Be prepared to say this motto to anyone who has on a badge! It’s so much fun!!!

    Haha!!! I love it!

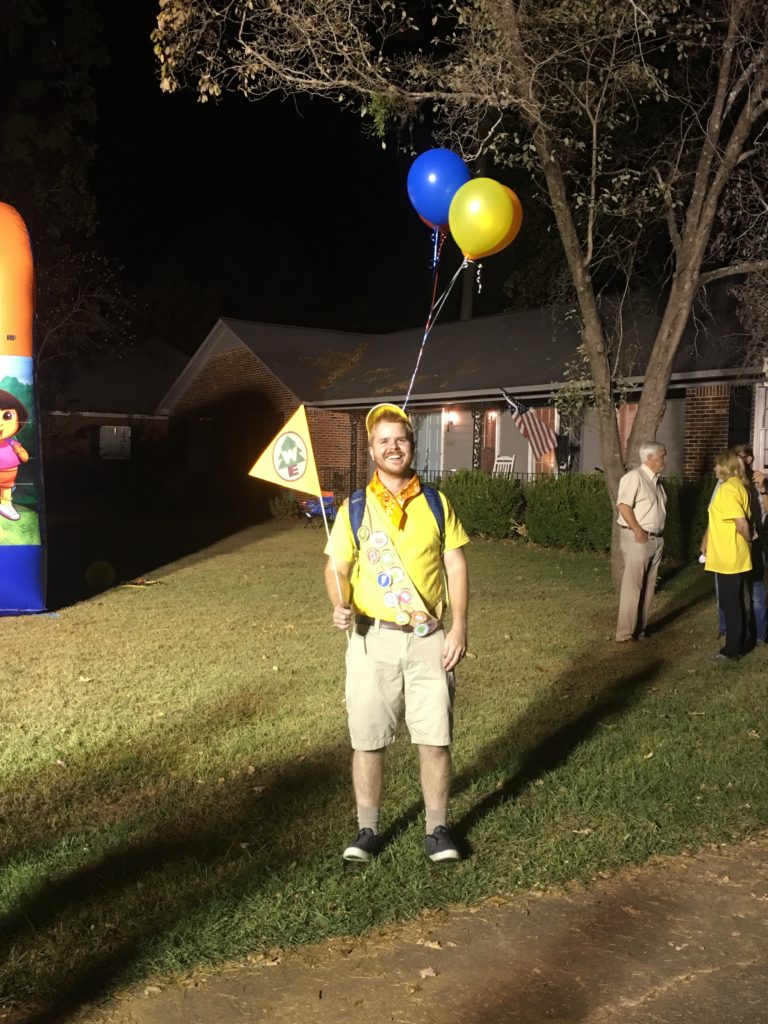
  • DIY Russell from Up Costume

    up_russell1

    THE WILDERNESS MUST BE EXPLORED!!!!

    If you haven’t seen UP yet, STOP reading this right now, RUN to the store, BUY IT, WATCH IT, and THEN come back here… I’m not joking. Oh and just a warning- be prepared to cry!

    Ok, now that we have that settled, lets get back to the costume tutorial. Isn’t Russell just the cutest! And his costume is so easy to make! Most of these items can be found at a craft store like Hobby Lobby or Michael’s and at Good Will.

    img_0532
    Here is what you need:

    • Yellow T-Shirt
    • Orange Bandanna
    • Khaki Shorts
    • Khaki Socks
    • Hiking/Dark Colored Outdoor Shoes
    • Brown Fabric for the Sash
    • Yellow or Khaki Hat- or white and spray paint
    • Brown, Orange, Green, and Yellow Felt
    • Orange Construction Paper
    • Long dowel for flag
    • Plastic Buttons
    • Balloons
    • Book-bag
    • Printer with Colored Ink
    • img_0359

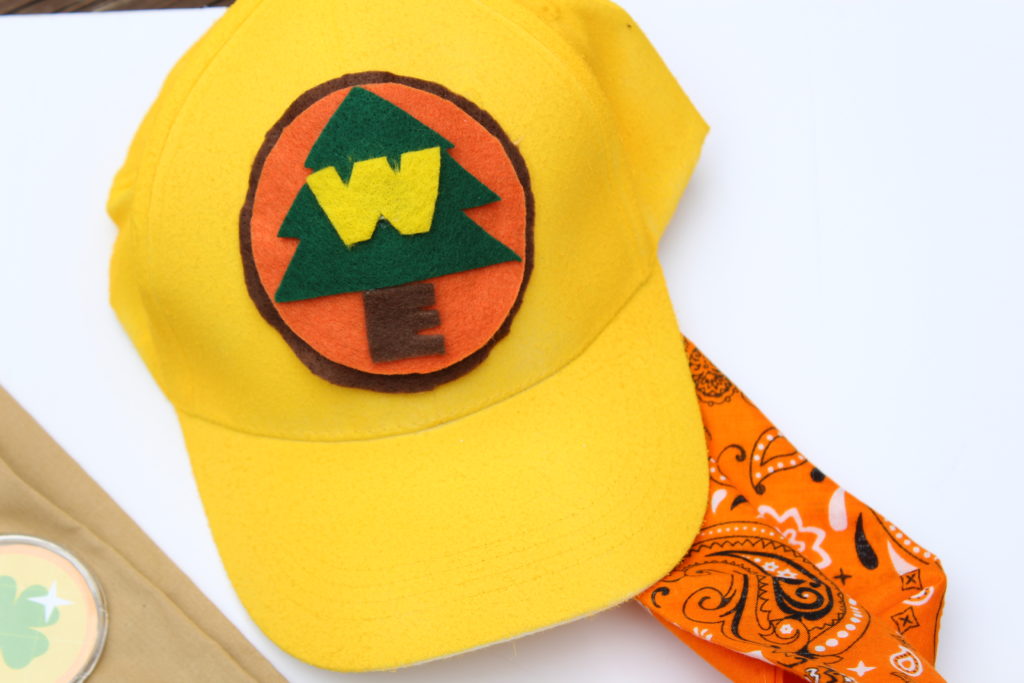
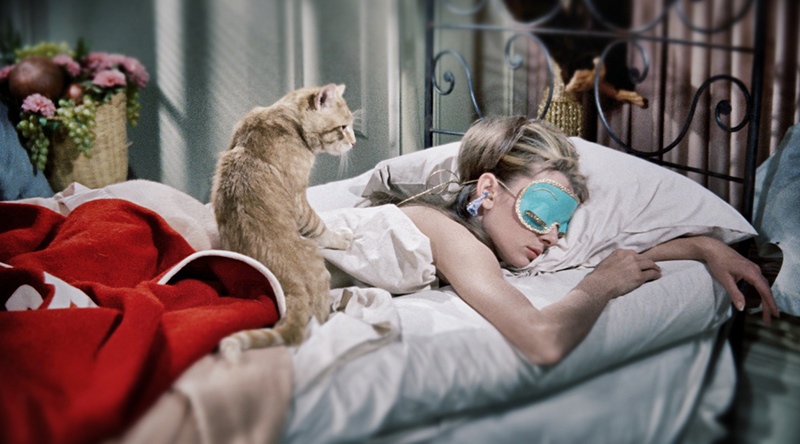
      The Hat was probably my favorite thing to make. We couldn’t find a yellow one, so we bought a white one and spray painted it yellow. I printed out the Wilderness Explorer logo to the size I needed for the hat and then cut out each piece from felt. I glued them all together with a hot glue gun and then glued the whole piece to the hat.


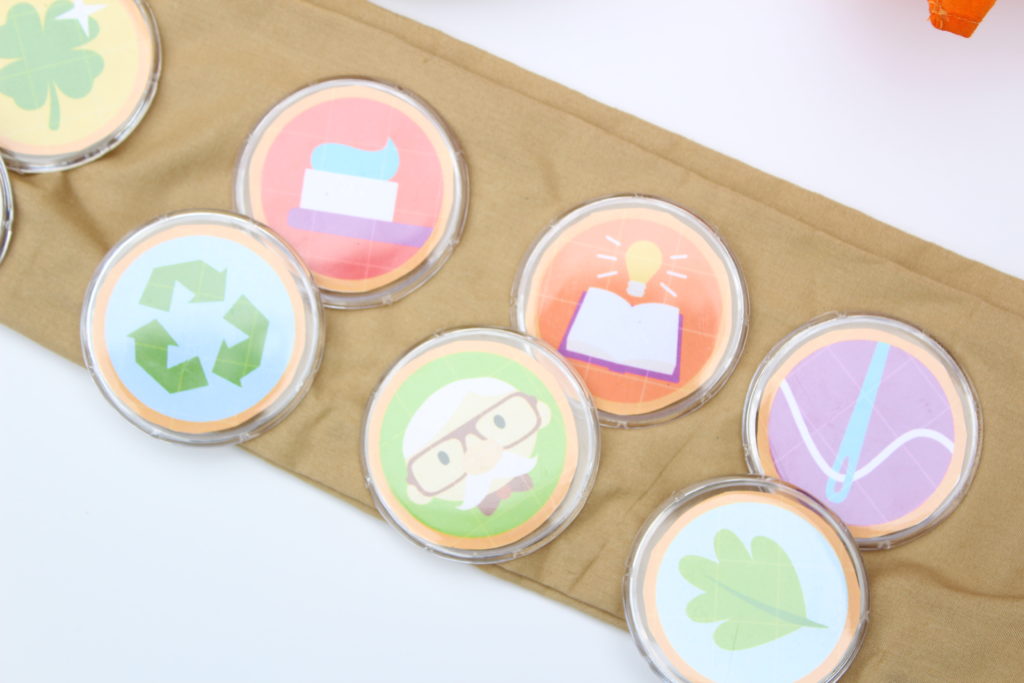
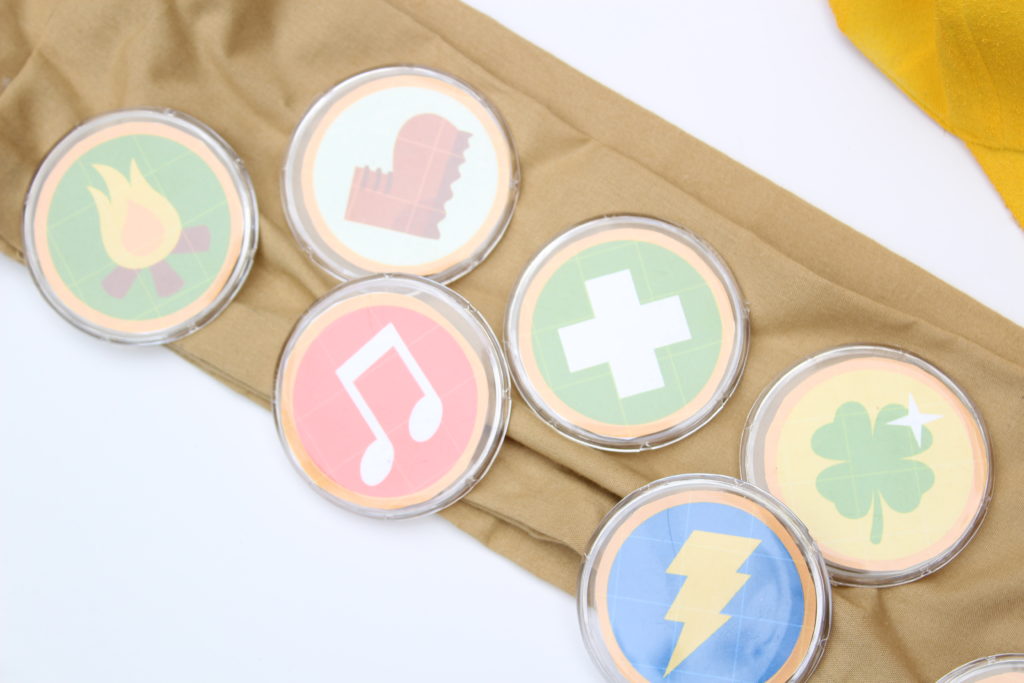
      Aren’t those badges just the cutest! I googled Wilderness Explorer badges and found a sheet that I liked. I ended up having to play around with it in Microsoft Paint and Word until they were the right size. You don’t have to have fancy editing software for this. I just saved the picture to may computer, opened it in paint and cropped the picture tight on the badges. Then I opened it in Word and changed the margins four all for sides to around .25, then printed off the sheet in black and white to make sure they were the right size. Once I got them right I printed in color, cut them out and put them in the plastic buttons.
       
      The sash was probably the hardest part. I bought 2 yards of brown fabric in the discount section on Hobby Lobby. Depending on what your fabric is like will depend on how much work you have to do. The fabric I used was already cut into one yard sections, it was also very wide. I ended up cutting in half length wise and then hot gluing the ends together. I folded over the sides and hot glued those. We ended up folding the whole garment again length wise because it was so wide. I measured the sash around Scott and then cut and glued it to the right size so he could slip it over his arm. After that we pinned the buttons on the sash.

      I promise this flag is orange! More like florescent orange, but still orange! Fold the construction paper down the middle and draw a triangle (long end on the fold, point going towards the outside). Cut out the triangle keeping the fold intact, that is important. Next place the wooden dowel in the middle, where the fold is and hot glue it in place. Fold the paper and hot glue the sides together. Next print off two Wilderness Explorer Logos and tape or glue them onto the outside of the flag.
       
      For the final touch I picked up four balloons in red, yellow, orange and blue and tied them onto the a book-bag that Scott wore all night. I don’t think this will make or break the costume, but it added a nice touch!
       
      img_0355

    Halloween Costumes: Russell and Kevin

    I love dressing up in costumes! Blame it on years and years of theater, but it’s one of my favorite things. Scott on the other hand….. totally not into dressing up! In fact, I’ve had to go back to the drawing board for his 30th birthday party because he broke the news to me that he wasn’t into dressing up! And let me tell you, it was going to be awesome. But anyway…Each year our church does a Neighborhood Candy Fest. Basically a few Sunday School Classes get together and are assigned a neighborhood. We set up a bouncy house and have games and pass out candy! It’s a way for us to get to know people in our community. It’s also the perfect time for adults to get away with dressing up and not having people look at you weird!!!

    So the Sunday before Halloween, I kindly told Scott he was being a party pooper and that we needed to dress up. So over lunch we narrowed down our choice to Peter Pan and Wendy or Russell and Kevin from Up. Clearly, Russell meant no green tights for Scott so that one won out (It if wasn’t 90 degrees on the last day of October, Peter Pan may have been in the running for longer).

    Well, just in case you forgot- Hobby Lobby is not open on Sundays. So Micheal’s and Good Will were the places to go! I’ll do a post breaking down what I used and how I made each costume, but all in all I was really happy with how easy each one was to make and I loved the way they turned out! I’m not a DIYer, so if I say something is easy, it is! Seriously all I used was a glue gun and a stapler. If I had a sewing machine, the whole process could have done a lot smoothly (and probably looked nicer), but mine was at my parents and since this was last minute, a glue gun worked perfectly! It’s also not a time consuming project either. I would say it took me about 5 hours to do both costumes, which again for a none DIYer isn’t that bad!

    Stay tuned for the breakdown from each costume!

    img_0352